 Guide Tutorials Examples Services App notes Links FAQ Forum
This website and its associated repositories, are deprecated and no longer supported by the OSGi Alliance. Please visit https://enroute.osgi.org for the latest supported version of OSGi enRoute.
This enRoute v2 archive site is kept for those who do not intend to use the latest version of OSGi enRoute. If you are new to OSGi enRoute, then please start with the latest OSGi enRoute.
Before you start any of the tutorials you must prepare your environment so that the right tools are installed. This page helps you to achieve this. We need to run the following tools on your computer:
You can install bndtools from the Eclipse market place, make sure you got version 3.3.0 or later. You can also install bndtools directly from the update site:
https://dl.bintray.com/bndtools/bndtools/3.3.0
If we update bndtools with a stable release then we will place it here:
https://dl.bintray.com/bndtools/bndtools/latest
You can find the details how to install bndtools on the bndtools website
Do not install the development version since it is currently incompatible with the tutorials.
Whenever you see a text like File/Open we hope you treat it as a menu path. That is, go to the menu bar, click on File, then select Open. If the menu path starts with @/ then it is from the context menu on the selected object, which has then been clearly defined in the previous sentence.
Since this part is rather sensitive to the operating system you’re using, we have split it in different sections for each of the major operating systems.
In the enRoute tutorials file paths are always indicated using the forward slash or solidus (‘/’) as is customary on *nix like systems. The reason is that bnd, since its files are portable, always uses relative addressing from the workspace and adopted the forward slash. For most developers mapping these paths to Windows should be straightforward.
The only addressing outside the workspace is to the user’s home directory, the user’s home directory is indicated by a path that starts with a tilde and a slash (‘~/’). This maps to the path indicated in Java’s user.home System property.
Make sure you have a good command line shell available. If you’re familiar with one, keep it. If command lines are uncomfortable for you, you might want to use Git for Windows which includes a bash like shell. Though virtually all work in OSGi enRoute is done through Eclipse, there are some crucial elements where the shell is just much nicer.
If you start using enRoute you will likely create a number of workspaces. There is a very handy utility plugin for Eclipse on MacOS that shows you which workspace is which icon in the task bar:
There is also multi-workspace launcher plugin from Torkild U. Resheim that incorporates Neil Bartlett’s task bar badge (above).
Ok, now about that Raspberry Pi. This tutorial assumes a Raspberry Pi 2 model B. This model is compatible with the Raspberry Pi 1 Model B+. See the Raspberry Pi and Pi4j sites for compatibility details. Note that the Raspberry 2 is surprisingly much faster, faster than you would expect from the technical specifications.
There are lots of resources with pictures and videos if you want that get you start with the Raspberry Pi, see the Raspberry Pi quick start guide or just search Google.
The state you want to reach before you continue is that you can log in with SSH into the Raspberry Pi. In this tutorial we will use the address 192.168.2.4 as the address of our raspberry. For example:
$ ssh pi@192.168.2.4
Linux raspberrypi 3.12.22+ #691 PREEMPT Wed Jun 18 18:29:58 BST 2014 armv6l

The programs included with the Debian GNU/Linux system are free software;
the exact distribution terms for each program are described in the
individual files in /usr/share/doc/*/copyright.

Debian GNU/Linux comes with ABSOLUTELY NO WARRANTY, to the extent
permitted by applicable law.
Last login: Thu Jun 18 07:42:02 2015 from 192.168.67.102
pi@raspberrypi ~ $
Java 8 is now included in the NOOBS distribution. So in the shell, you should be able to do:
pi@raspberrypi ~ $ java -version
java version "1.8.0"
Java(TM) SE Runtime Environment (build 1.8.0-b132)
Java HotSpot(TM) Client VM (build 25.0-b70, mixed mode)
The build numbers should be regarded as minimum. Java is installed on the latest Raspian OS but if Java is not installed on your machine, then you can download it from Oracle’s Java Embedded site and install it locally. You might want to search for java + Raspberry Pi on Google.
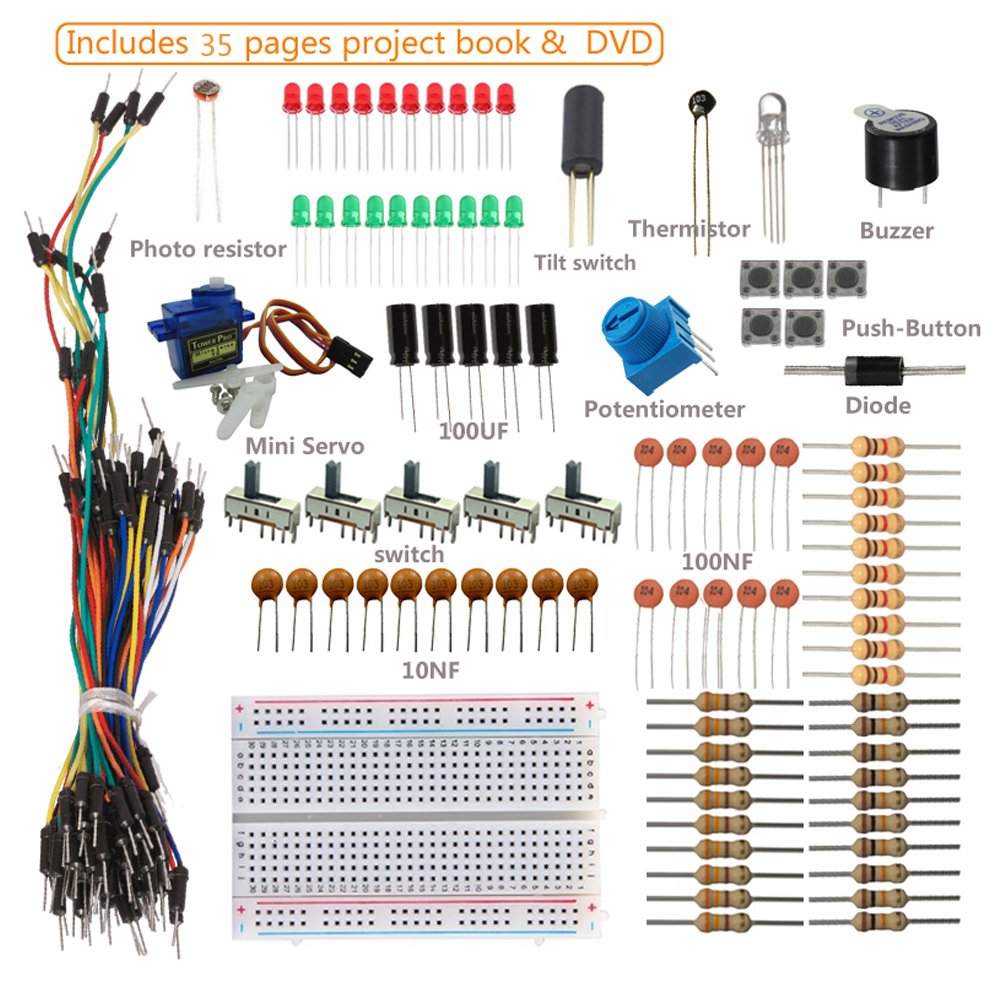
To experiment with the Raspberry Pi we will need some sensors and actuators. It also helps to have a little breadboard and wires. It is amazing what you can get at amazon nowadays. If you can afford it, the SunFounder kit is like a boy’s dream but for this tutorial you just need:
Any local electronics store has this material. If you need a reference, these parts are included in the SunFounder Sidekick Starter Kit.
Almost there, we only need one more install! The OSGi enRoute tool chain has a remote debugging facility.
Remote debugging from bnd(tools) requires an agent to be running inside an OSGi framework.
However, in this case we would also like to define the actual framework in bnd(tools), we just need a
program that installs a framework with an agent defined in a bnd(tools) bndrun file. This is the
biz.aQute.remote.main program. Let’s install it
pi@raspberrypi ~ $ curl -o bndremote.jar http://repo1.maven.org/maven2/biz/aQute/bnd/biz.aQute.remote.main/3.3.0/biz.aQute.remote.main-3.3.0.jar
pi@raspberrypi ~ $ sudo java -Xrunjdwp:transport=dt_socket,server=y,suspend=n,address=1044 -jar bndremote.jar -n 192.168.2.4
Listening for transport dt_socket at address: 1044
This will start the bnd remote main program in the Java debug mode and will listen to port 1044. This will allow us to debug OSGi enRoute applications in bndtools on another machine.
As you can see, we start the command with sudo, this is required to use the general purpose IO on the device. The -n option indicates the network we are running on, if you don’t specify this you can only use the agent from the same machine (i.e. localhost).
The next setup is the Eclipse works. Please follow the quick start tutorial or if you’re ambitious the base tutorial. For this tutorial, you should create a new workspace as described in the tutorials. Make sure you get the latest version workspace from github.